Preparedness and Training – Preparedness
Sourdough breadmaking is a foundational preparedness skill. With only flour, water, salt, and time, veterans and self-reliant individuals can produce reliable, yeast-free bread indefinitely. This guide combines the core art of sourdough, starter maintenance, and practical troubleshooting into one clear resource for building food independence.
Sourdough offers more than flavorful loaves. It provides true food security by eliminating dependence on commercial yeast. A living starter becomes a renewable resource that can be maintained for years, supporting consistent bread production even when supply chains are unreliable. The process builds patience, observation, and problem-solving—qualities already familiar to those with military experience.
Understanding the Foundation: The Sourdough Starter
A sourdough starter is a living culture of wild yeast and beneficial bacteria created from flour and water. Once established, it naturally leavens bread without store-bought yeast. The culture ferments over several days, becoming bubbly and tangy. Whole wheat flour often accelerates the early stages due to its higher nutrient content.


The starter is the heart of the system. Proper care keeps it active and ready for baking whenever needed.
Creating and Maintaining a Healthy Starter
Follow these steps to establish and keep a reliable starter:
- Mix equal parts flour and water in a clean jar to begin the culture.
- Keep the jar in a warm location (ideally 70–75°F) and loosely cover it.
- Feed daily with equal parts starter, flour, and water by weight.
- Once active and doubling after feeding, the starter is ready for baking.
- For less frequent baking, refrigerate the starter and feed it about once a week.
- Always discard or use a portion before each feeding to prevent excess acidity and overcrowding.
A healthy starter shows consistent bubbles, rises predictably, smells pleasantly tangy, and has a stretchy texture. These signs confirm the culture is balanced and strong.

Troubleshooting Common Starter Issues
Most problems can be corrected with simple adjustments. Address issues early to keep the system reliable:
- Little or no activity / slow rise — Move the starter to a warmer spot (70–75°F). Feed every 12 hours for several days. Add a portion of whole wheat or rye flour to boost nutrients and microbial activity. Recovery often takes 2–4 feedings.
- Liquid (hooch) on top — This indicates the starter is hungry. Pour off or stir in the liquid, then feed immediately. Increase feeding frequency to prevent recurrence.
- Unpleasant or rotten smells — A healthy starter smells tangy or mildly yeasty. Strong foul odors signal imbalance. Discard most of the culture, leave a small amount, and begin clean feedings with fresh flour and water.
- Mold or unusual colors (pink, orange, green, black, or fuzzy growth) — Discard the entire starter, clean the jar thoroughly, and start over. Do not attempt to salvage contaminated cultures.
- Excessive acidity or weakness — Feed more frequently or use a higher ratio of flour and water to starter for a few cycles to dilute acidity. Return to a consistent schedule once balanced.
- Temperature-related problems — Cold slows fermentation; excessive heat stresses the culture. Maintain a stable, moderately warm location away from drafts, direct sun, or extreme fluctuations.
- Revival after neglect — Bring a refrigerated or neglected starter to room temperature. Discard any hooch and resume daily feedings. Full recovery may take several days of consistent care.
Clean tools, consistent feeding, and stable temperature prevent most issues. Keep simple notes on what works in your environment to improve reliability over time.
Baking Your First Loaves
Once the starter is active and bubbly, baking becomes straightforward and forgiving. The process rewards observation more than rigid perfection.
- Mix active starter with water, flour, and salt into a shaggy dough.
- Rest the dough, then perform a series of stretch-and-folds over a couple of hours to strengthen the gluten.


3. Allow bulk fermentation until the dough roughly doubles.
4. Shape the dough and give it a final proof (often overnight in the refrigerator for better flavor and flexible timing).
5. Preheat a Dutch oven, score the dough if desired, and bake covered to trap steam for a crisp crust, then uncovered to finish browning.


- Cool the loaf completely before slicing.
Sourdough rises more slowly than commercial yeast bread. This longer fermentation improves digestibility and nutrient availability while producing a distinctive tangy flavor and open crumb. Use a Dutch oven when possible—it creates steam that develops a professional-quality crust.


Using Sourdough Discard Wisely
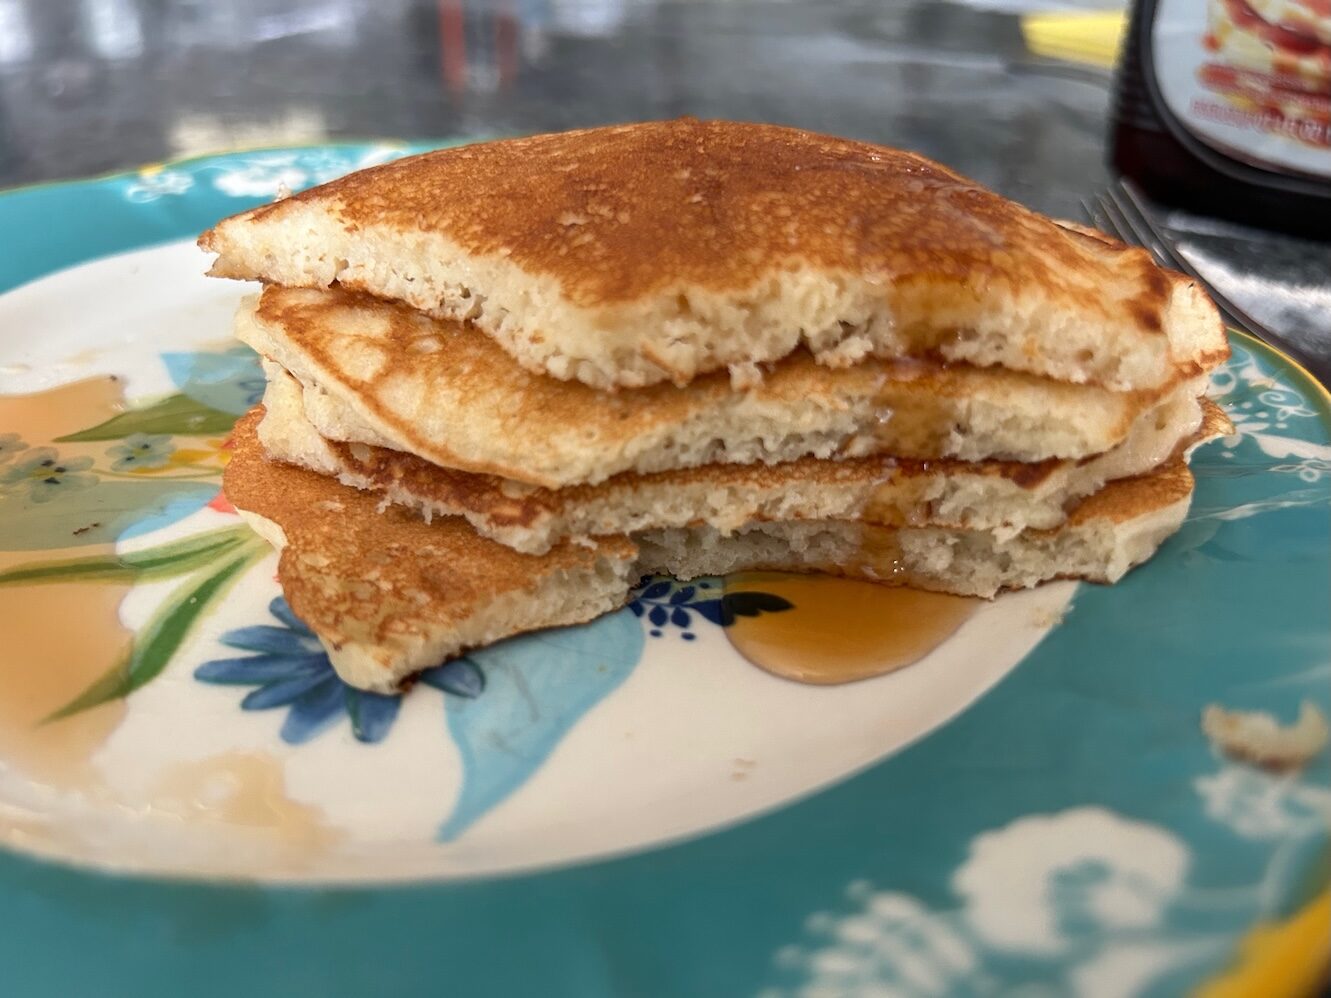
Regular feeding produces discard. Instead of wasting it, incorporate the discard into pancakes, waffles, muffins, crackers, biscuits, or other baked goods. This practice reduces waste, stretches limited flour, and adds subtle tang and depth of flavor. Store discard in the refrigerator for short-term use or freeze portions for later. A healthy culture never needs to be thrown away—it simply becomes the next meal.

Building Long-Term Resilience
Sourdough success comes from consistency rather than perfection. Early loaves may vary, yet each bake teaches useful lessons about temperature, hydration, and timing. Over time the process becomes second nature—another dependable system in the preparedness toolkit.
Mastering the starter, diagnosing problems, and producing reliable bread from basic ingredients strengthens food independence. The same discipline used in other readiness practices applies directly here: observe, adjust, and maintain the system so it works when external support is unavailable.
Start with a simple culture. Feed it consistently. Troubleshoot as needed. Bake regularly. The result is more than bread—it is competence, self-reliance, and a practical expression of the preparedness lifestyle.




Leave a Reply